
This tutorial was made and written by my own ideas any resemblance to other tutorials is purely coincidental
For experienced PSP Users
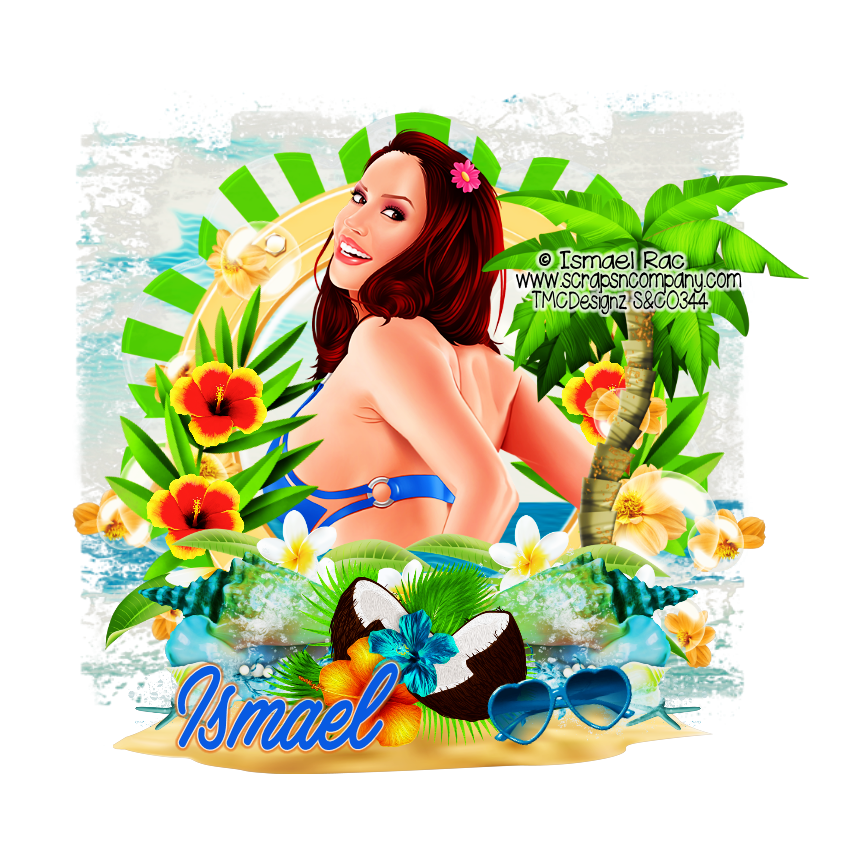
Artwork: Ismael Rac called Oopsy
Scrapkit: Mariel Designs called Sexy Angela
Both can be purchased at www.scrapsncompany.com
Font of choice
Alien Eye Skin candy 5-Impact-Gradient Glow
Elements used from kit
Md 1, 32, 35, 55, 58, 59, 62, 65, 90-1, frame 2, 5
Lets get Started
Open new raster 850x850
Copy and Paste frame layers
Adjust size to liking
Copy and Paste mask background -Drag to bottom of raster
Copy and Paste greenery-duplicate-mirror
Copy and Paste flowers and duplicate by sample
Copy and Paste conch shell and duplicate-mirror
Copy and Paste remaining elements by sample
Add close up tube or tube of choice
Right click in raster and merge invisible
Duplicate-double click-change blend mode to soft light
Add name I applied Gradient Glow
Add copyright info
No comments:
Post a Comment